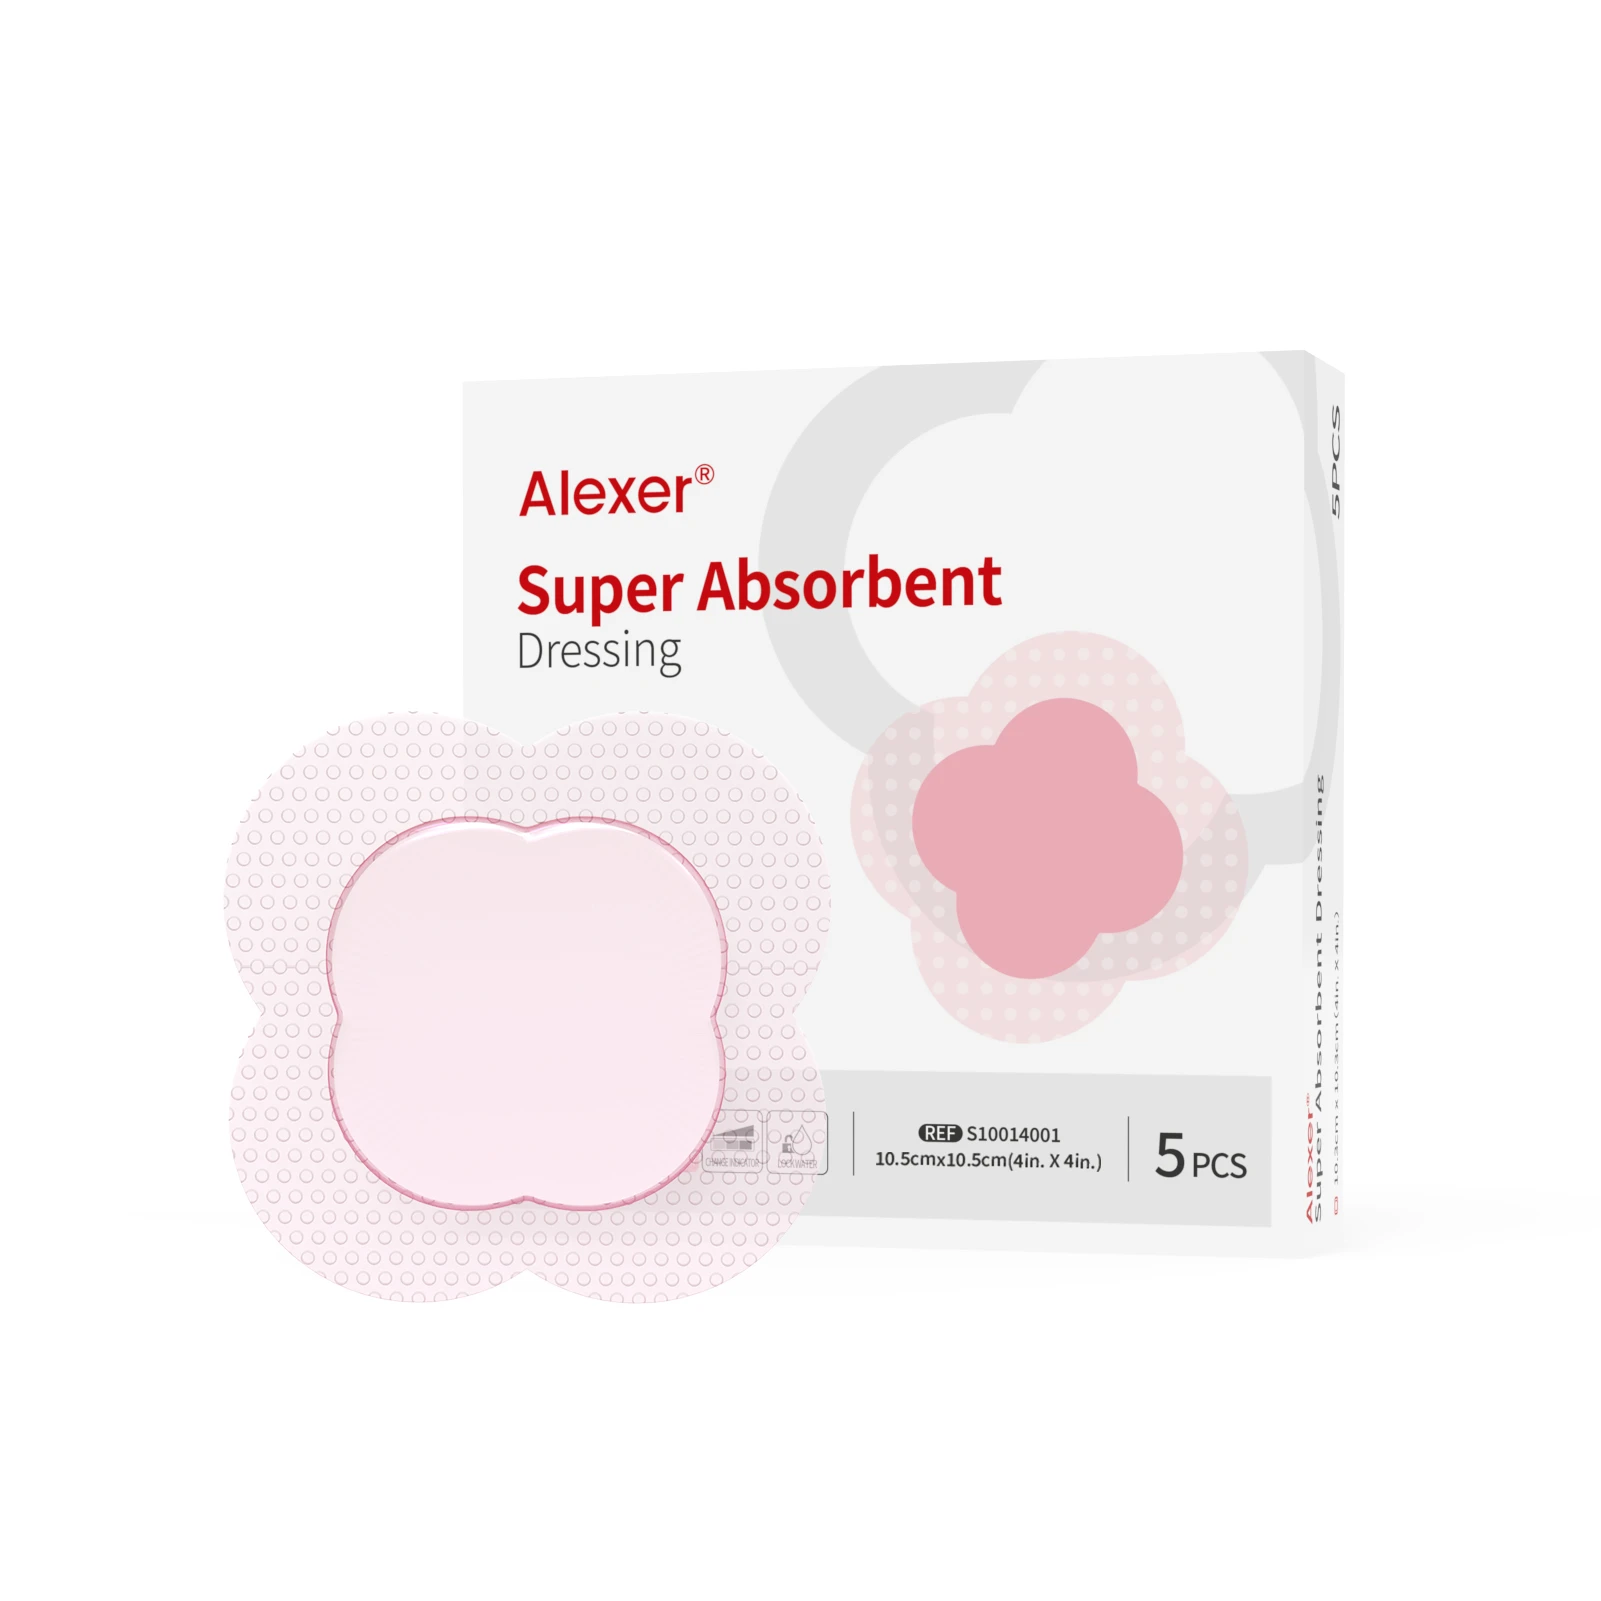
Pressure injuries develop where pressure, shear, moisture, microclimate, and fragile skin overlap—often at the sacrum, heels, or under medical devices. This guide explains how a silicone foam dressing for pressure ulcers is commonly used for two goals: reducing shear/friction at high‑risk sites and managing moderate-to-high exudate in Stage 2–3 wounds to help limit leakage and maceration. The focus is long‑term care/home care workflows and postoperative or device‑related hotspots, with dressings framed as adjuncts—not a substitute for off‑loading, repositioning, or device optimization.
Clinical governance (read first): This article is educational content for clinicians and care teams. It doesn’t replace bedside assessment, your facility policy, or manufacturer instructions for use (IFU). Pressure injury prevention and treatment should be individualized and performed within a complete bundle (risk assessment, off-loading/repositioning, support surfaces, moisture management, nutrition, and infection evaluation as indicated). Evidence references are provided for transparency, and recommendations are framed as typical practice ranges with clinical change triggers rather than guarantees. Last reviewed: February 2026.
Why silicone foam dressings work
Multilayer silicone foams combine a soft contact layer, absorbent core(s), and a vapor‑permeable backing. The soft‑silicone adhesive spreads removal forces over a wider area, reducing skin stripping at change. In prevention, the cushion and low‑friction surface can help reduce shear at the skin–support interface. In treatment, the foam core holds exudate away from the wound bed and peri‑wound skin, helping maintain a balanced microclimate and reducing strikethrough.
If you’re building facility education materials or a product formulary, it can help to keep a neutral internal reference for dressing families. For example, SLK Medical maintains an overview of advanced wound dressing categories that can be used as a starting point for comparing silicone foam with other advanced dressings by indication and absorbency.
Two evidence pillars support this use profile. First, the 2025 international guideline from NPIAP/EPUAP/PPPIA suggests multilayer soft‑silicone foams on sacrum and heels in high‑risk patients as part of a prevention bundle (conditional recommendation; very low certainty). See the exact language in the preventive skin care chapter: International Guideline – Preventive Skin Care (2025). The heel chapter reinforces selection of multilayer soft‑silicone dressings when a preventive heel dressing is used: Heel Pressure Injuries (2025).
Second, pooled analyses summarized by the guideline and prior reviews indicate reduced incidence of pressure injuries at sacrum and heels when prophylactic silicone foams are added to standard care, though heterogeneity remains. For foundational context, see the Cochrane prevention overview (2018), which discusses possible incidence reduction with silicone dressings versus no dressing and underscores the adjunct role.
Prophylactic use of a silicone foam dressing for pressure ulcers at sacrum, heels, and device hotspots
Sizing and placement pitfalls to avoid
A prophylactic foam works best when it’s applied without creating new pressure points.
-
Size beyond the bony prominence: choose a dressing that extends past the sacrum/heel hotspot so edges don’t land directly on the highest-load zone.
-
Avoid wrinkles and stretch: apply smoothly with no tension; creases can concentrate pressure and shear.
-
Check the seal: confirm edges are fully adhered and not lifting, especially after bathing or heavy perspiration.
-
Don’t “hide” a problem: if you see persistent redness, pain, heat, or non-blanching changes, escalate assessment—don’t rely on a dressing alone.
Device-related pressure injury mini-checklist
When using silicone foam under or around devices (NIV masks, tubing, splints, proning supports), keep the basics tight:
-
Optimize device fit and position first; use foam as a friction/shear buffer, not as a spacer to “force” fit.
-
Inspect skin at least once per shift in inpatient settings (and at every visit in home care).
-
Replace foam if it becomes moist, soiled, or starts to edge-lift.
-
Watch microclimate: manage humidity and perspiration under interfaces.
-
Document the device site, skin findings, and the mitigation steps taken.
Evidence summary for prevention
Guideline direction and recent syntheses converge: for patients at high risk, apply multilayer soft‑silicone foam prophylactically to sacrum and heels within a bundle. The prevention chapter (2025) provides a conditional recommendation with very low certainty, reflecting benefits seen across RCTs and quality‑improvement studies but acknowledging study diversity. The heel chapter reiterates choosing multilayer soft‑silicone foam when preventive heel dressings are used.
Device‑related pressure injury (DRPI) sites—such as under NIV masks, tubing, or proning supports—have less RCT density but growing supportive protocol and observational evidence. Implementation protocols and observational reports describe fewer device-related facial or interface injuries when silicone foam is placed under pressure points as part of a bundle that also includes fit checks, microclimate control, and scheduled skin inspections.
Practical LTC and home‑care protocol (prophylaxis)
Use these steps to standardize prophylactic dressing use at sacrum/heels and common device hotspots in long‑term or home settings. Think of it as a living protocol that aligns with your local policy and documentation standards.
-
Risk screen and site selection: Complete a structured risk tool (e.g., Braden) and identify high‑risk sites (sacrum, heels, device contact points). If resources permit, select a multilayer soft‑silicone foam sized to extend beyond the at‑risk area without creasing under load.
-
Skin prep and placement: Cleanse and dry the skin. Protect fragile peri‑skin with a thin barrier film if indicated, then apply the foam smoothly without tension. Avoid trapping moisture.
-
Bundle integration: Maintain repositioning/off‑loading schedules, moisture management (continence, perspiration), and appropriate support surfaces. The dressing is an adjunct cushion and friction/shear buffer, not a replacement.
-
Inspection cadence and change triggers: Inspect at least daily in LTC/home care and per shift in inpatient settings. Change the dressing when it’s loose, soiled, shows strikethrough, odor, edge lift, excessive moisture underneath, or after bathing if adhesion is compromised. Protocols commonly target multi‑day wear in intact‑skin prophylaxis, but visual inspection remains the driver.
-
Documentation and escalation: Record site condition, dressing status, and any early skin changes (non‑blanchable erythema, warmth, pain). Escalate immediately if the skin status worsens or device fit can’t be optimized.
Managing Stage 2–3 exudative pressure injuries
Stage 2–3 pressure injuries often produce moderate to heavy exudate. The goal is to hold moisture where it supports healing while preventing leakage and peri‑wound maceration. Evidence comparing silicone foam directly against alginate or hydrocolloid in this exact population is limited, but reputable implementation resources agree on selection logic centered on exudate volume, wound geometry, and skin protection.
Dressing selection: silicone foam vs alginate vs hydrocolloid
For a non-branded “family overview” of foam formats (bordered vs non-bordered, shapes, and common clinical uses), see SLK Medical’s silicone foam dressing category as a quick internal reference alongside your local formulary and IFU.
Use this head‑up comparison to guide first‑line selection for exudative Stage 2–3 PIs. Adjust based on wound depth, slough, patient tolerance, and dressing availability.
|
Dressing type |
Best fit (exudate/stage) |
Strengths for Stage 2–3 |
Watch‑outs |
Typical pairing |
|---|---|---|---|---|
|
Multilayer silicone foam (bordered) |
Moderate to high exudate; shallow to moderately deep Stage 2–3 |
Absorbent core with microclimate control; atraumatic soft‑silicone contact reduces MARSI and pain on removal; helps limit strikethrough |
May require more frequent changes if exudate is very heavy or if under compression/device pressure; ensure good edge seal |
Often used alone; can overlay alginate in heavy exudate cases |
|
Alginate (with secondary cover) |
High to very high exudate; cavities or undermining |
Gels on contact to sequester fluid; good for cavity fill; handles heavy exudate |
Requires secondary cover; risk of over‑packing; monitor for edge leakage/maceration |
Covered with silicone foam or film/foam composites |
|
Hydrocolloid |
Low to moderate exudate; superficial Stage 2 |
Occlusive; supports autolysis; conformable |
Maceration risk if exudate increases; not ideal for heavy drainage; may adhere firmly to fragile skin |
Often used alone on lower‑exudate wounds |
In practice, clinicians often match silicone foam to moderate–high exudate when peri-wound protection and leakage control are priorities; alginates to very heavy exudate and cavities (with a secondary cover); and hydrocolloids to low–moderate exudate when the skin can tolerate a more occlusive approach. Because head-to-head RCT evidence specific to Stage 2–3 pressure injuries is limited, keep selection decisions anchored to wound assessment, skin tolerance, and the dressing IFU—and reassess early if exudate volume changes.
Wear‑time and change‑trigger matrix
The best practice is to use clinical triggers—not fixed promises—to decide wear time. The matrix below synthesizes common ranges and triggers you can adapt to policy and manufacturer IFU. For suspected infection, plan shorter intervals and closer reassessment.
|
Scenario |
Typical wear range (if stable) |
Change sooner if… |
Notes |
|---|---|---|---|
|
Prophylaxis on intact skin (sacrum/heel) with multilayer silicone foam |
Up to 3 days is common in prevention protocols; extend only with daily inspection and intact adhesion |
Strikethrough, edge lift, trapped moisture/heat, soiling, odor, after bathing if adhesion compromised |
Keep within a bundle (repositioning, moisture, support surfaces) per International Guideline – Preventive Skin Care (2025) |
|
Stage 2 PI, moderate exudate, silicone foam |
3–5 days when exudate controlled |
Peri‑wound maceration, leakage, odor, pain increase, clinical deterioration |
Align to IFU and local protocol; inspect at each visit |
|
Stage 3 PI, high exudate, silicone foam over alginate |
1–3 days depending on volume |
Strikethrough, rapid saturation, undermining changes, odor |
Consider stepping up absorbency or frequency; ensure cavity not over‑packed |
|
Suspected local infection, silver silicone foam |
2–3 days initially |
Worsening local signs, systemic signs, intolerance |
Time‑limited trial with close reassessment; discontinue silver if no improvement within the planned interval; see IWII consensus hub (2022) |
The International Guideline avoids prescriptive guarantees and centers clinical assessment. Educational quick guides similarly emphasize triggers such as leakage, odor, and maceration as reasons to change early.
Minimizing MARSI and pain at dressing change
Soft‑silicone adhesives generally exert lower peel forces than acrylics, which can mean less skin stripping and less pain at removal—especially important for older skin or when frequent checks are needed. Regardless of adhesive type, technique matters: support the skin and remove low and slow.
Practical technique matters too. Lift a corner, support the skin, and peel low and slow in the direction of hair growth while gently pressing the skin ahead of the adhesive. If edges roll or the site is humid, consider a silicone‑based tape just for supplemental securement to avoid excessive tension from stronger adhesives.
When to consider silver (Ag) silicone foam
Antimicrobial silver foams are not for routine prophylaxis or for “just in case” use. Consider a silver (Ag) silicone foam when you suspect local infection or high bioburden (for example: increasing malodor, new or increasing pain, friable granulation, stalled progress despite appropriate moisture balance), and only as part of an overall plan that may also include debridement, pressure redistribution, moisture control, and systemic therapy when indicated.
Safety boundaries and reassessment (practical):
-
Reassess the wound and peri-wound skin at each change and set an early review point (often within 1–2 weeks in many local protocols) to decide whether Ag is still needed.
-
Stop Ag if there’s intolerance, allergy concern, no clinical improvement by the planned review, or once infection indicators resolve.
-
Follow your facility’s antimicrobial stewardship approach and the product IFU for wear time, contraindications, and compatibility with other topical agents.
Avoid silver with known allergy, and use added caution in pediatrics or pregnancy where data are limited.
Cost and nursing‑efficiency signals for long‑term care
Economic outcomes vary by facility workflow, staffing, and baseline incidence. When prophylactic silicone foams are added to a bundle, fewer new sacral/heel injuries may translate into avoided downstream treatment time and cost. At the same time, rigorous long-term-care–specific economic studies are still limited, so it’s best to track your own change frequency, nurse time, and skin outcomes before and after adoption.
Here’s a conservative, planning‑level snapshot to help teams model time and supplies. Adapt the placeholders to your local costs and change rates.
|
Planning parameter (LTC) |
Conservative assumption |
Operational note |
|---|---|---|
|
Prophylactic sacral silicone foam change frequency |
About every 3 days with daily skin checks |
Change earlier if loose/soiled or after bathing |
|
Stage 2–3 silicone foam change frequency (controlled exudate) |
Every 3–5 days |
Shorten if leakage/maceration occurs |
|
Nurse time per change (min) |
8–15 |
Includes skin assessment, documentation, repositioning |
|
Cost impact driver |
Avoided new PIs at sacrum/heels |
Prevention benefit offsets supplies and nurse time over horizon |
Procurement discussions land better when clinical leaders pair local change logs (frequency, time) with incidence trends and adverse event tracking (maceration, MARSI, strikethrough). That way, choices are grounded in your facility’s data rather than generic claims.
Case vignettes and quick protocol templates
Scenario 1 — LTC sacral prophylaxis for a bedbound resident: A resident with a low Braden score, incontinence, and poor trunk mobility is flagged for high sacral risk. After skin cleansing and barrier application, a multilayer soft‑silicone foam is applied over the sacrum, edges smoothed. Staff maintain two‑hour repositioning, use breathable briefs, and inspect the dressing and skin daily. On day three, minor edge lift appears after a shower; the dressing is changed. No non‑blanchable erythema develops over the first two weeks.
Scenario 2 — Postoperative device hotspot at the nasal bridge: A patient on NIV shows early redness at the bridge of the nose. The team re‑fits the mask to off‑load pressure points and places a thin silicone foam under the interface. Skin is checked each shift; the foam is changed when moist. Redness resolves without breakdown, illustrating that the foam complements—not replaces—device fit optimization and frequent checks.
Scenario 3 — Home‑care Stage 3 sacral wound with heavy exudate: The wound bed shows slough and high drainage. The nurse lightly packs the cavity with alginate and covers with a bordered silicone foam. Change frequency is set at 48 hours with an earlier trigger for leakage or odor. After a week, exudate decreases; the plan transitions to silicone foam alone with 3–4‑day intervals, continuing off‑loading and nutrition measures.
Appendix: example product and disclosure
Disclosure: SLK Medical is our product. As an illustrative example of a bordered silicone foam option you might evaluate alongside others in the market, see the SLK Medical silicone foam dressing with border (pink). This example is provided for context only; always align final selection with your wound assessment, IFU, and facility protocol.
Optionally, for gentle securement concepts, review a silicone tape example from the same site: medical silicone tape.
Core references
-
NPIAP/EPUAP/PPPIA: International Guideline – Preventive Skin Care (2025)
-
NPIAP/EPUAP/PPPIA: Heel Pressure Injuries (2025)