If your team works across an outpatient wound clinic, a long‑term care/SNF unit, or home health, you’ve probably felt the pain of too many SKUs, inconsistent techniques, and avoidable skin injury on fragile periwound tissue. This step‑by‑step guide shows you how to build a tiered, operations‑ready wound care formulary designed for sensitive skin—so you can cover ≥80% of presentations with a compact core list, train staff to consistent standards, document cleanly, and align contracts for tiered pricing. Your first 90‑day goals: reduce device‑related skin injury and skin tears, and improve workflow efficiency and compliance.
Step 1: Set governance and 90‑day goals
Start with a small cross‑functional committee: a WOC nurse or clinical lead, a site educator, a supply chain/category manager, and representation from each setting (clinic, LTC/SNF, home health). Define scope, decision rights, and a change‑control process to prevent “SKU creep.” Agree on two headline KPIs for Day 0–90: 1) decrease device‑related skin injury/skin tears and 2) increase adherence to the formulary and IFUs.
Charter quick wins and boundaries. For example, silicone‑adhesive solutions are preferred on fragile skin to minimize skin stripping per MARSI prevention principles. Embed this into your standards and education plan.
Document how you will verify impact: audit 10 charts per site per month for product‑indication match, wear time, and documentation completeness.
For sacrum and heel prevention, align with widely used pressure injury bundles and prophylactic dressing concepts endorsed by professional bodies; see the National Pressure Injury Advisory Panel’s overview of standardized prevention protocols for context in 2025 in the article titled Standardized Pressure Injury Prevention Protocol. Link: NPIAP SPIPP overview.
Step 2: Map indications and build your wound care formulary Core list
Plot your typical cases on three axes: exudate level (low → heavy), bioburden risk (low → increased risk), and skin fragility (intact but sensitive → highly fragile with skin‑tear risk). From there, assemble a Core list that covers ≥80% of presentations across settings, then define Optional add‑ons for edge cases and Alternative equivalents for supply resilience.
Here’s a compact Core matrix to start conversations. Adapt sizes to local utilization.
Category | Primary use case on fragile skin | Typical wear and notes |
|---|---|---|
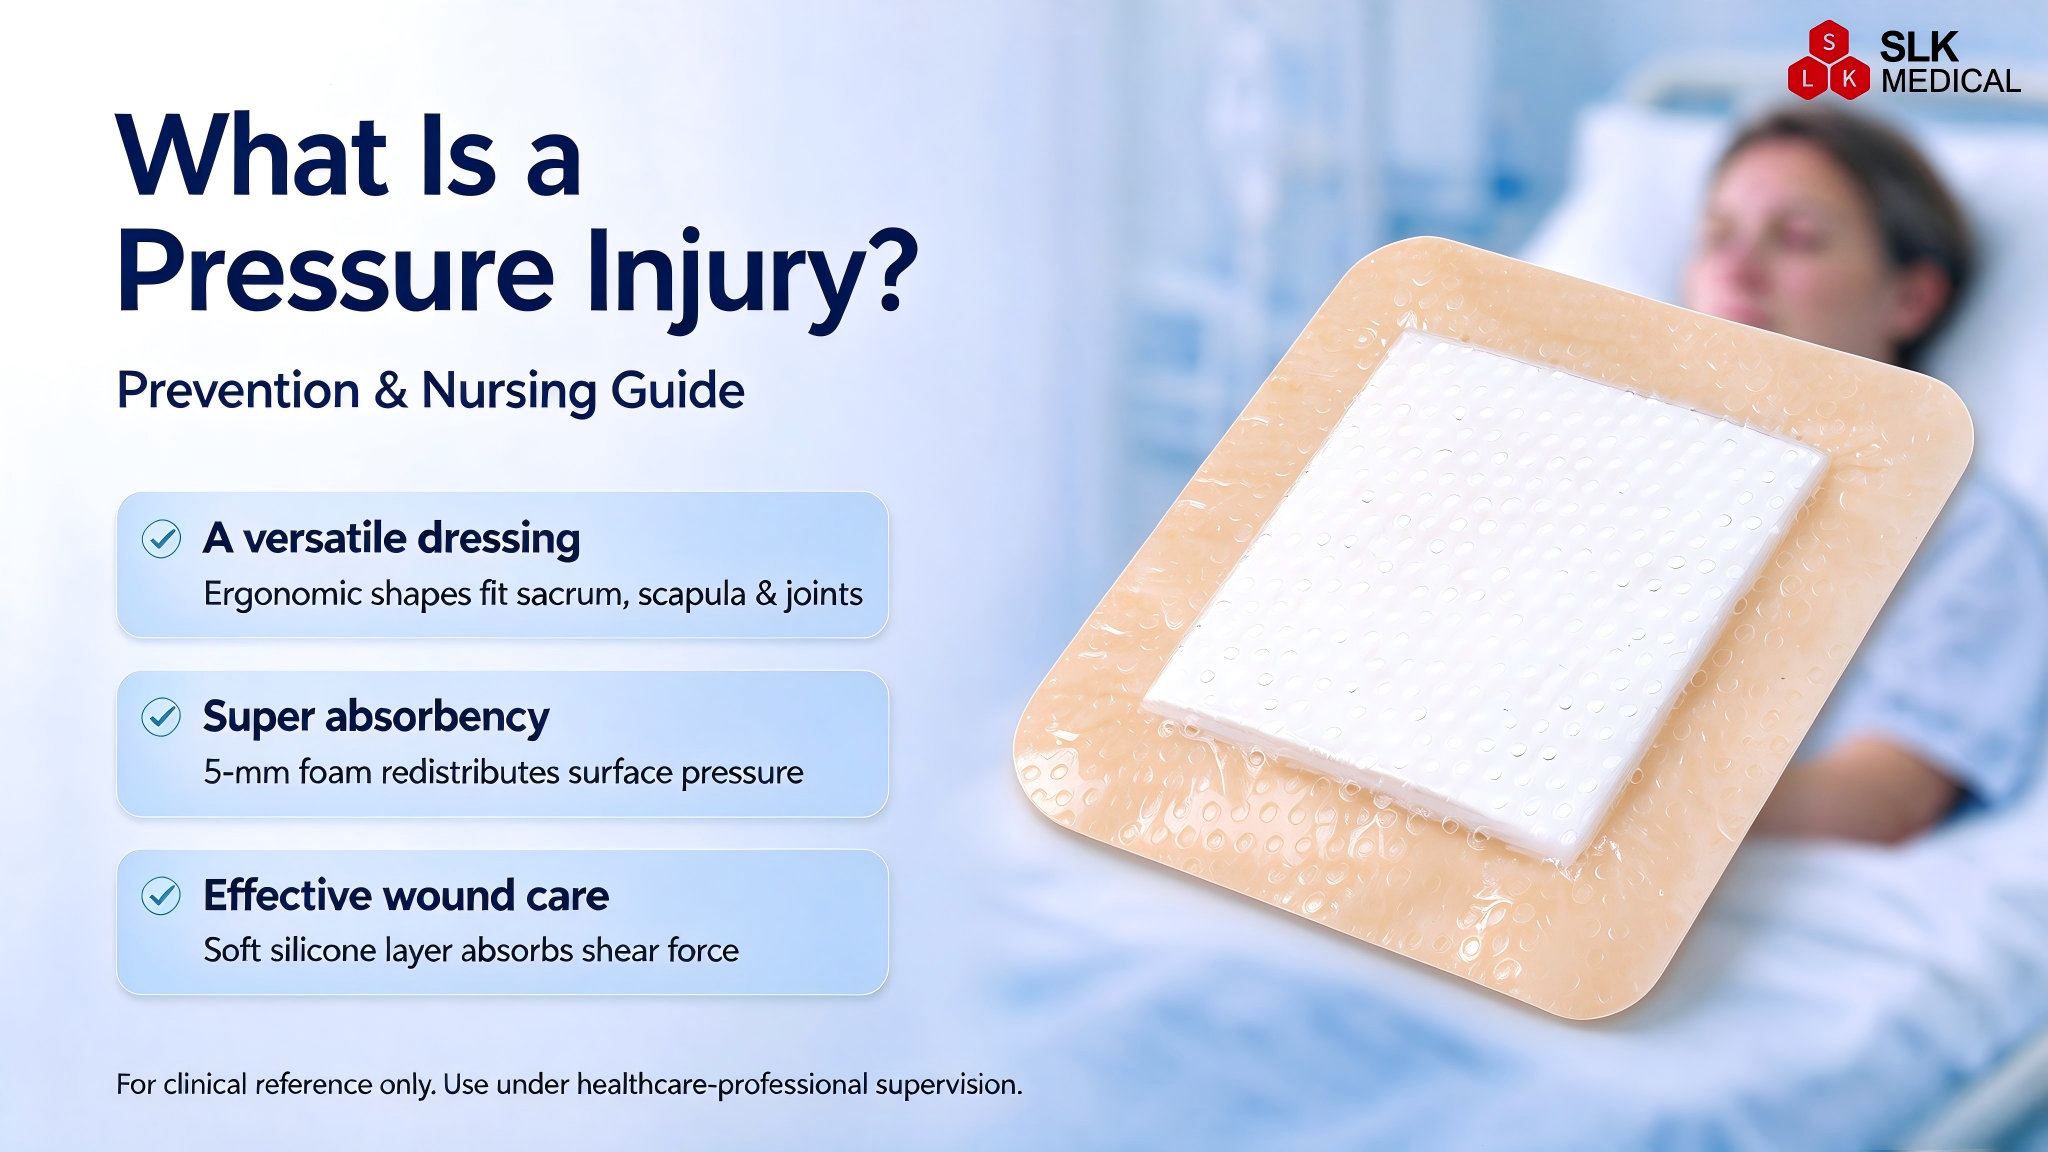
Bordered silicone foam | Low–moderate exudate; protective cushioning; prophylaxis at high‑risk sites with offloading | Up to 7 days, change earlier if exudate approaches edge; choose thin edges for conformability |
Silicone wound contact layer | Skin tears and adherence‑risk wounds as a primary interface under a secondary absorbent | Primary layer may remain while secondary is changed; size with 2–3 cm overlap beyond wound |
Gelling fiber or alginate | Moderate–heavy exudate; cavities and undermining; alginate offers hemostasis | Use as filler/secondary under foam; shorten wear if saturation high |
Anatomical silicone foams sacrum and heel | Contoured fit for sacrum and heels to reduce shear with repositioning/offloading | Select size that seals without tension; ensure offloading compatibility |
Medical silicone tape | Atraumatic securement on fragile periwound and device fixation | Repositionable; remove with low tension parallel to skin |
Internal learning resources for clinicians:
For category overview and sizes of silicone foam dressings, see the product category page titled Silicone foam dressing on SLK Medical: silicone foam dressing category overview.
When heavy exudate drives maceration risk, review size options and indications for alginate dressings on SLK Medical: alginate wound dressing overview.
Define Alternatives up front to handle backorders or adhesive sensitivities—e.g., therapeutically equivalent bordered silicone foams with comparable silicone interfaces—so substitutions don’t proliferate new SKUs. When bioburden risk is elevated and stewardship policies support an antimicrobial surface, an Optional silver‑impregnated silicone foam can be considered; keep usage policy‑driven without routine defaulting.
Step 3: Choose sizes and shapes that actually fit
Right‑sizing and shape selection prevent edge lift, rolling, and unnecessary changes—especially over the sacrum, heels, and skin tears.
Sacrum sizing and placement: Use pre‑shaped bordered silicone foam sized to extend well beyond the at‑risk area, creating a seal without tension. Pair with moisture management and routine repositioning. For broader prevention context and use of prophylactic dressings within bundles, clinicians can reference NPIAP’s Prophylactic Dressing Standards Initiative in their materials hub: NPIAP PDSI context.
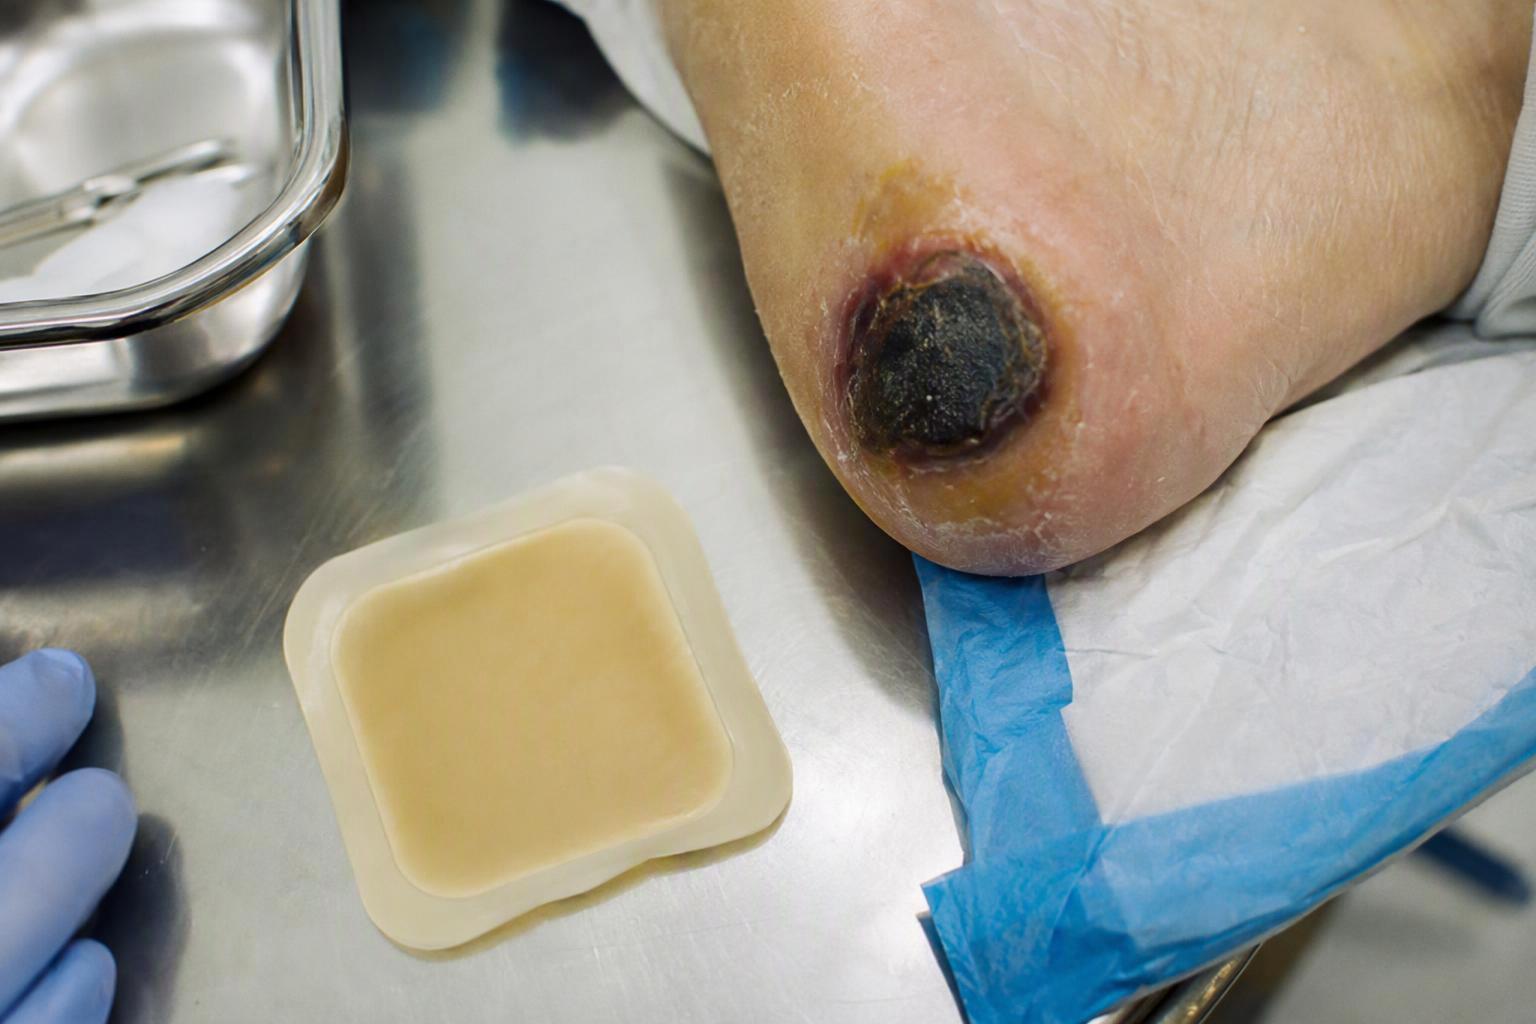
Heel coverage: Choose anatomical heel foams that cup the calcaneus and cover the malleoli, and confirm compatibility with offloading boots or devices. NPIAP’s free materials section summarizes positioning and heel offloading principles that you can build into training: heel offloading and positioning materials.
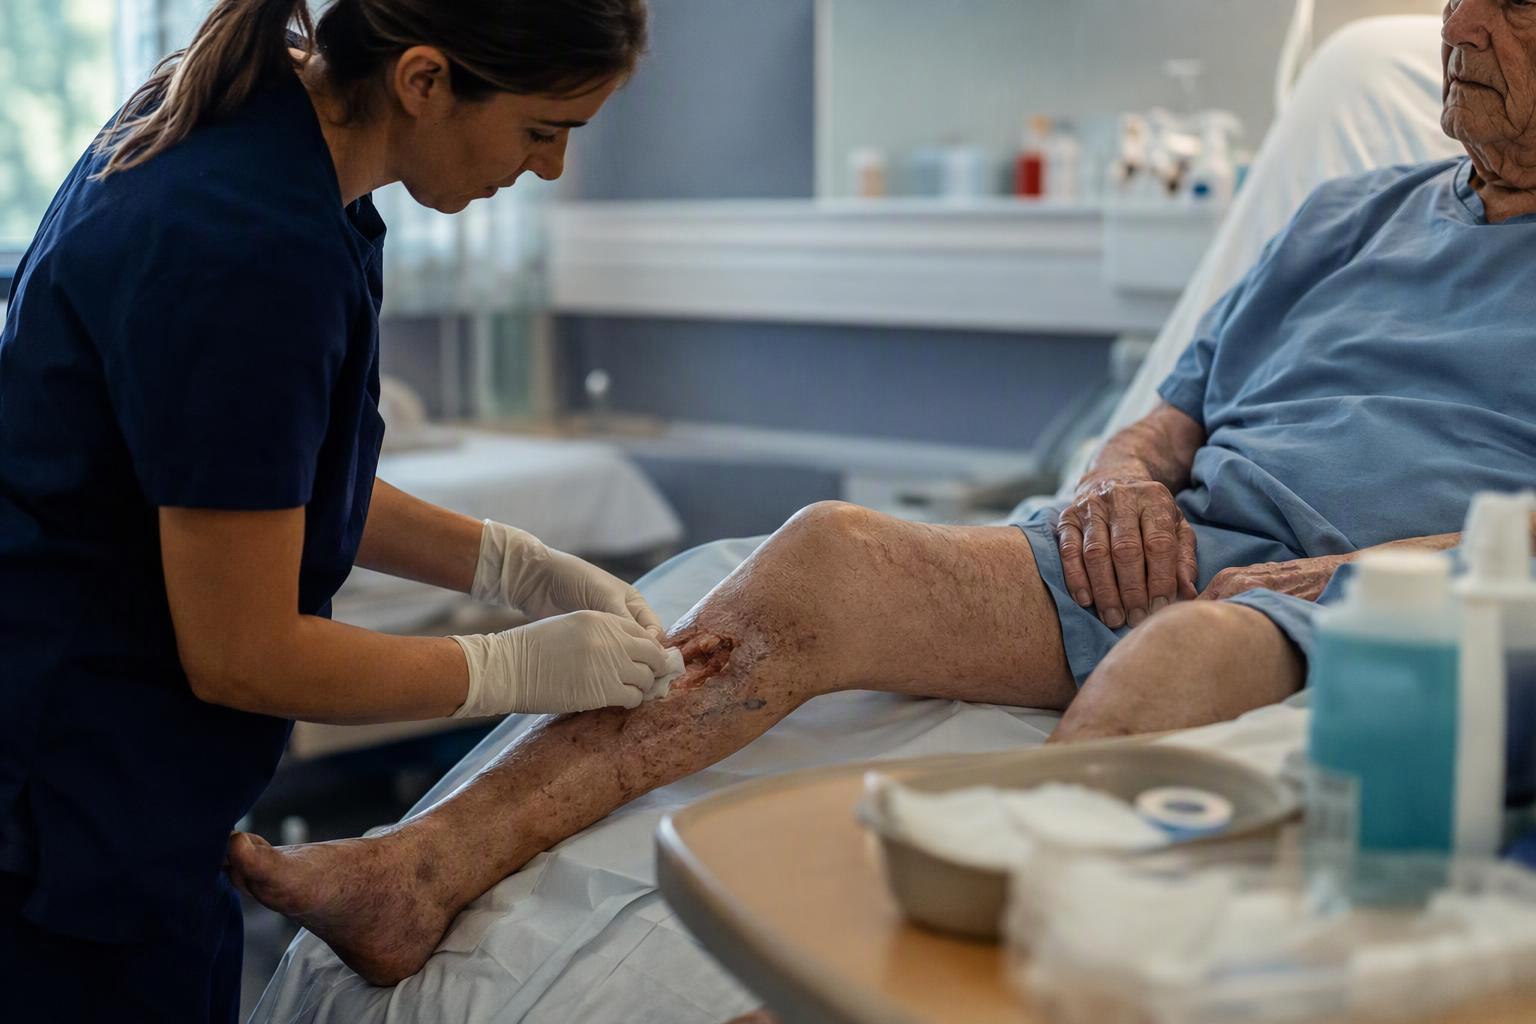
Skin tears and fragile periwound: Place a silicone wound contact layer that extends 2–3 cm beyond the wound edge, then add a secondary silicone foam for absorption and protection. This approach mirrors widely cited ISTAP guidance for older skin with skin‑tear risk; see Wounds International’s 2nd‑edition consensus document for technique principles from the International Skin Tear Advisory Panel: ISTAP skin tear recommendations. For a product page example of the interface layer, clinicians can review this SLK page titled Silicone wound contact layer: silicone wound contact layer.
Common flat sizes that cover most clinic and home scenarios include 4×4 in, 6×6 in, and 4×8 in for rectangles; in LTC/SNF, add 8×8 in for larger ulcers with heavier exudate. For shaped needs, maintain small/medium/large sacrum and at least two heel sizes.
Step 4: Make education and competencies stick
Train for consistency with short, role‑based modules and visible job aids.
Micro‑trainings of 15–20 minutes: selection algorithm for fragile skin; application and removal techniques for bordered silicone foam and silicone contact layers; wear‑time criteria and early‑change triggers; documentation essentials; where to access IFUs.
Competency validation: return‑demonstration checklists covering sacrum/heel placement, skin‑tear flap alignment under a contact layer, and low‑tension tape removal on fragile skin. Provide an onboarding bundle for traveler or agency nurses and plan annual refreshers.
Compliance monitoring: audit 10 charts per site per month for product‑indication match, IFU adherence, wear time versus plan, and periwound assessment notes. Feed results into a shared dashboard and coach outliers.
Step 5: Put the formulary into the EMR and IFU workflow
Hard‑wire the formulary into orders and notes so the right products show up by default and clinicians can document quickly.
Order set fields to include: wound etiology and exudate level; dressing category plus specific SKU and size; anatomical site; planned wear‑time range with criteria for earlier change; securement method with a gentle default; allergy or sensitivity alerts; embedded link to the product IFU; photo prompts with scale at each change.
Documentation structure: discrete fields for indication‑product match, periwound condition, wear time actual versus planned, and patient comfort on removal. If your informatics team needs a rationale for structured fields and linkable references, HIMSS offers accessible overviews of cross‑continuum data sharing that you can adapt to wound workflows; see this perspective piece from 2024 titled Sharing data across the care continuum. Link: HIMSS cross‑continuum documentation perspective.
Step 6: Align with your GPO and lock in tiered pricing
Once your Core is stable, concentrate volume to unlock pricing and supply protections while safeguarding clinical flexibility.
Vendor consolidation: Standardize to a primary manufacturer across Core categories to reach higher tiers; retain one to two clinically equivalent alternates for resilience.
Tiered pricing mechanics: Work with your GPO to set volume tiers linked to baseline utilization in each setting and align them with your launch timeline. Premier explains how volume commitments and standardization strategies open savings and stability; their overview page provides a concise primer: Premier GPO overview.
Substitution rules: Define therapeutic equivalence within each category in your policy and EMR so backorders trigger a controlled alternate, not ad‑hoc purchases.
Quarterly reviews: Tie contract check‑ins to your KPIs—skin injury reduction, documentation completeness, and on‑time changes—and to formulary compliance analytics.
Step 7: Launch, audit, and troubleshoot
Run a 30/60/90‑day plan with clear owners.
Day 0–30: Pilot on two units or one clinic plus one home‑health team. Distribute algorithm cards and QR codes to IFUs. Track early wear‑time issues and edge lift.
Day 31–60: Expand to remaining sites. Close training gaps, tune sizes, and validate substitution workflows.
Day 61–90: Formalize quarterly business review cadence and finalize tier thresholds with your GPO.
Rapid fixes for common problems on fragile skin:
Adhesive‑related skin injury: switch to silicone‑adhesive categories, add barrier film per policy, and retrain on low‑tension removal.
Maceration from under‑matched absorbency: move up to gelling fiber or alginate as a filler/secondary, or shorten wear interval.
Edge rolling or poor wear time: select thin‑edged bordered silicone foam, upsize or switch to a shaped option for sacrum/heel, reinforce with medical silicone tape when needed.
A quick glossary for consistent language
Core formulary: minimal SKUs that cover ≥80% of presentations across your settings.
Optional: additional SKUs for edge cases such as unusual anatomy or increased bioburden risk.
Alternative: pre‑approved therapeutic equivalents to address backorders or sensitivities without adding net new SKUs.
Practical notes on wear time and technique
Silicone foam dressings are typically worn up to seven days depending on exudate and stability; change earlier if exudate nears the edge or if there’s lifting or irritation. This range is consistent across reputable guides, including Wounds International quick references and manufacturer‑agnostic summaries. When managing skin tears on fragile skin, use a silicone contact layer as the primary interface and change the secondary absorbent foam as needed—mirroring ISTAP‑aligned best practice noted above.
Download a neutral formulary kit to speed your rollout
If you’d like ready‑to‑use tools—algorithms, size/shape checklists for sacrum and heel, competency sign‑offs, and a starter SKU matrix—request the non‑promotional formulary kit from SLK Medical. It’s designed to help your team operationalize the steps in this guide while staying aligned with IFUs and local policy.